Need Help? Call Us 415-423-3313
  • Welcome to The Upholster.com Forum. Please login or sign up.
 
April 18, 2024, 09:11:31 pm

News:

Welcome to our new upholstery forum with an updated theme and improved functionality. We welcome your comments and questions to our forum! Visit our main website, Upholster.com, for our extensive supply of upholstery products, instructional information and videos, and much more.


Show posts

This section allows you to view all posts made by this member. Note that you can only see posts made in areas you currently have access to.

Topics - BlueFlamingo

1
General Discussion / Re-Upholstering a Lazy Boy
October 28, 2017, 08:00:35 am
Just wondering what the average cost/pricing would be for a Lazy Boy Recliner Re-Upholstering job. I've has several requests but when I calculate the time + materials costs to do the job, I'm thinking it's not worth my time or the customers money to do the job.
What are you guys charging? 
My calculations are $200 for material and $400 labor.  Am I way off???
2
General Discussion / Just Started 22' Cobalt
May 29, 2016, 02:53:39 pm
Just finished the rear seats and Deck Hatch Cover on a 22' Cobalt Boat  Next will be the Bow Cushions.  LOTS of Pleats!!!!


3
I was too much of a cheapo to buy a Servo Motor soooo, I made this 8" hand Wheel for the head unit which changed the ratio.  I also put a 1 1/2" pulley on the motor.  It's about three times slower and much more manageable.  I put a smurf ball under the pedal and I can now make it sew one stitch at a time when going around corners.  It's made quite a difference.  I made the wheel from 2 pieces of 3/4" MDF glued together and then Bandsawed the circle and put it on the lathe to cut the groove for the belt.    I drilled a 7/32 hole down thru the middle of the belt groove thru to the 1/2" center hole for the head shaft and then threaded a 1/4" allen head set screw into the hole to hold it onto the flat side of the shaft.  I used 5 minute epoxy to glue the two pieces together.  Oh I had to buy a larger belt to and adjust the motor accordingly.  All in all it cost about $15.00 For the parts, glue and belt and took about 2 hours to build and assemble.

 It really works GREAT!!!   


4
Potential Customer sent me these "Disaster Pics" from a FAILED upholstery job.  Needless to say he was NOT happy with the results. the guy threw away the Old covers and presented him with this.  He's in a lawsuit now.  Went to another shop and they told him they couldn't do it and told him to go to the factory for replacements.  It's a 2009 boat.  Wanted me to quote it.  Trouble is...I've NEVER done big inside curves like this and really not sure how to go about it.  Seeking advice from the PRO's on how to go about it.  4 way stretch vinyl??  Glue??  Walk Away.  HELP!!!


5
I have an old REX 11-155r WF machine and after doing everything slow it down( 1 1/2 " pulley, extending motor arm etc)  I decided to try and build my own version of a Speed Reducer.  I did and it works. Great.  Made exclusively from plywood and Pine.  I've made a few others and they were made Totally from MDF and work just as well.  I also used a 10" x 1/2" bolt for the shaft and it worked just fine too.  That cut the costs to under $10 bucks.  I used 2- 1/2" bore bearings, a 12" piece of 1/2" shafting(cut down to 9") 2- 1/4" bolts.  Total costs...$15 bucks.  the Ones Online costs $225.00  It works GREAT!!!  Slows the machine to 1/2 speed and makes it sooooo much easier to use.  A bigger diameter pulley would slow it down even more.  Mine is 8" with at 2 1/2" on the side going to machine.  So if any of you want to calculate the reduction it's 1 1/2" to 10" then 2 1/2" to the Machine.  Not sure what it is  Maybe 4 ".    Here's a pic of what I made.


I made up some rudimentary plans and instructions if anyone's interested.  Send me and email and I send them along. Super easy to build  Takes about 4 hours shop time.  Band Saw,  Table Saw, Router and Drill Press
6
General Discussion / Looking for some Help
February 08, 2015, 04:32:08 pm
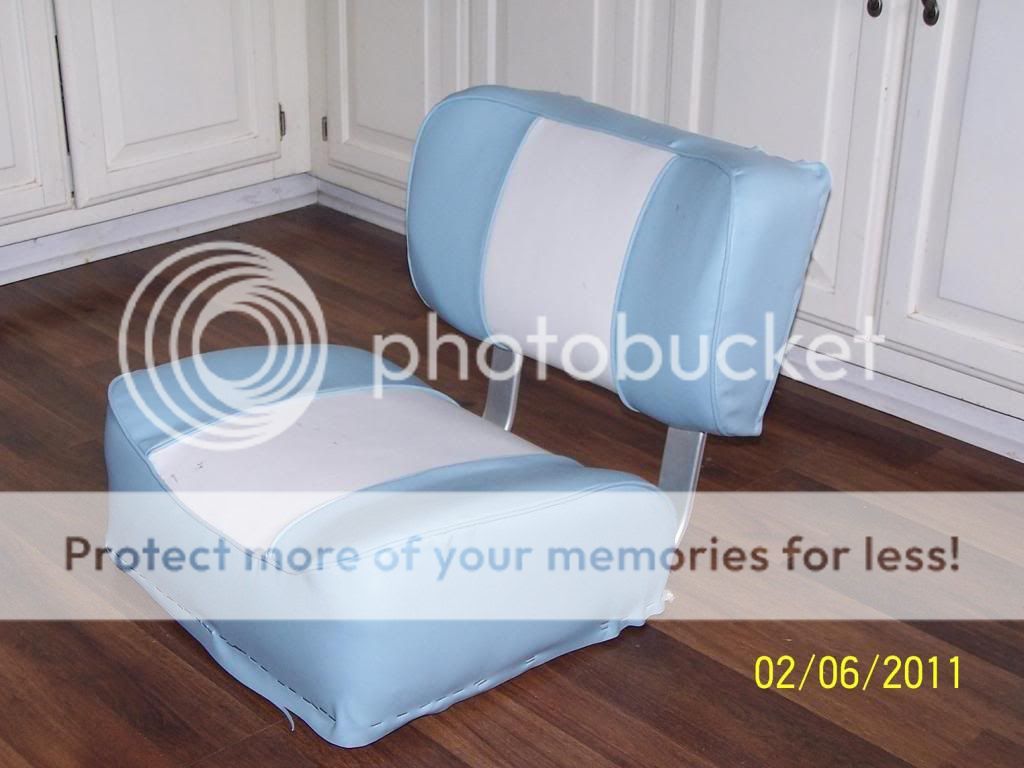
I'm NOT a PRO.  Just an Old Guy trying to Learn the business.  I have done some basic Flat Berth type seats and some bucket seats in my sons VW Bus but these seats are a NEW Challenge for me and I'm looking to you guys to see if you can give me some Tips of the trade!!!  The Curves and Rounded inside corners are kinda scary and I'm not real sure how I'm gunna get everything to fit right and wrinkle free.  These pics are NOT of the actual boat just samples of the Baja Boat type seats I'll be doing.  I call em Barrel Back Bucket Seats.


Sooo if any of you have done this type of seat and can give me some tips and things to look out for I'd REALLY appreciate it.  I'm SCARED STIFF at the moment and Hoping beyond Hope I have NOT bitten off more than I can chew!!!!  They have top stitched French Seams and as you can see inserts etc...  I can handle all that but I'm thinking there's going to be the need for heat guns and stretching and tucking and possibly some hidden stapling straps etc.  I guess when I tear the old covers off it may "Show" me how to put the new ones back on.  I'm hopin that will be the case.  Chime in if you have some advice.
7
The "GREEN" Room! / Looking for advice on Boat Seats
February 05, 2015, 07:44:08 am
I'm NOT a PRO.  Just an Old Guy trying to Learn the business.  I have done some basic Flat Berth type seats and some bucket seats in my sons VW Bus but these seats are a NEW Challenge for me and I'm looking to you guys to see if you can give me some Tips of the trade!!!  The Curves and Rounded inside corners are kinda scary and I'm not real sure how I'm gunna get everything to fit right and wrinkle free.  These pics are NOT of the actual boat just samples of the Baja Boat type seats I'll be doing.  I call em Barrel Back Bucket Seats. Sooo if any of you have done this type of seat and can give me some tips and things to look out for I'd REALLY appreciate it.  I'm SCARED STIFF at the moment and Hoping beyond Hope I have NOT bitten off more than I can chew!!!!  They have top stitched French Seams and as you can see inserts etc...  I can handle all that but I'm thinking there's going to be the need for heat guns and stretching and tucking and possibly some hidden stapling straps etc.  I guess when I tear the old covers off it may "Show" me how to put the new ones back on.  I'm hopin that will be the case.  Chime in if you have some advice.

8
General Discussion / Mooring Covers
September 27, 2014, 05:42:33 pm
As you may know, I'm getting close to retirement and am thinking of doing some upholstery work when I do.  I've done some boat seats etc. and have had some success but am FAR from being as accomplished as you guys.  I can sew a straight line and thread a bobbin but still have a LOT to learn.  I have a guy that wants me to do some mooring covers.  One is about 6x6 the other 5x5.  Typical boat canvas with 1" flat nylon webbing stitched around the perimeter with 1" binding and SS snaps   Nothing fancy and no major darts or cut outs.  Actually pretty straight forward.  I just don't have any idea what to charge.  I've priced the materials and they're gunna run approximately $200.  I'm Guess-Ti-Mating about 4-6 hours labor since I've never done anything like this before so I'm gunna have somewhat of a learning curve but I really can't charge him to much for that.  Soooo, what say you guys??? What would be a fair price for me to charge for something like this?  I really appreciate and trust your opinions.


9
My son is Crazy!!!  He sold his Harly and Bought one of these!!!


His was NOT the Deluxe model shown in the pic and did NOT have padded seats so he called me and wanted to know if I could make one.  He sent me a pattern that he drew an outline of the seat on a Brown grocery bag.  Here's the results.


I free handed the top stitching so it ain't perfect but he said not to worry about it so I didn't.  It's not bad but it ain't perfect either.  Pick up some scrap Naugahyde and foam so total cost was around $15 bucks.  20" zipper in the back and 2" of extra firm foam for padding.  Elastic banding to hold it on.  It's about 12" x 14" x 2" thick  I learn a bit more every time I sit in front of that walking foot.  You guys that do it for a Living amaze me with your skills!!!!
10
General Discussion / Wing Back
August 12, 2014, 09:19:08 am
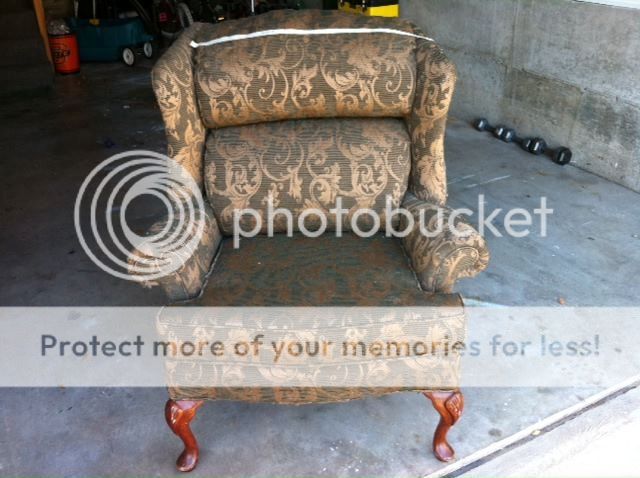
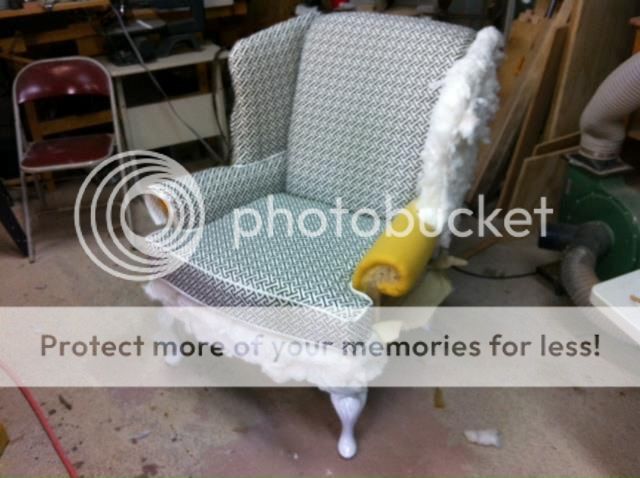
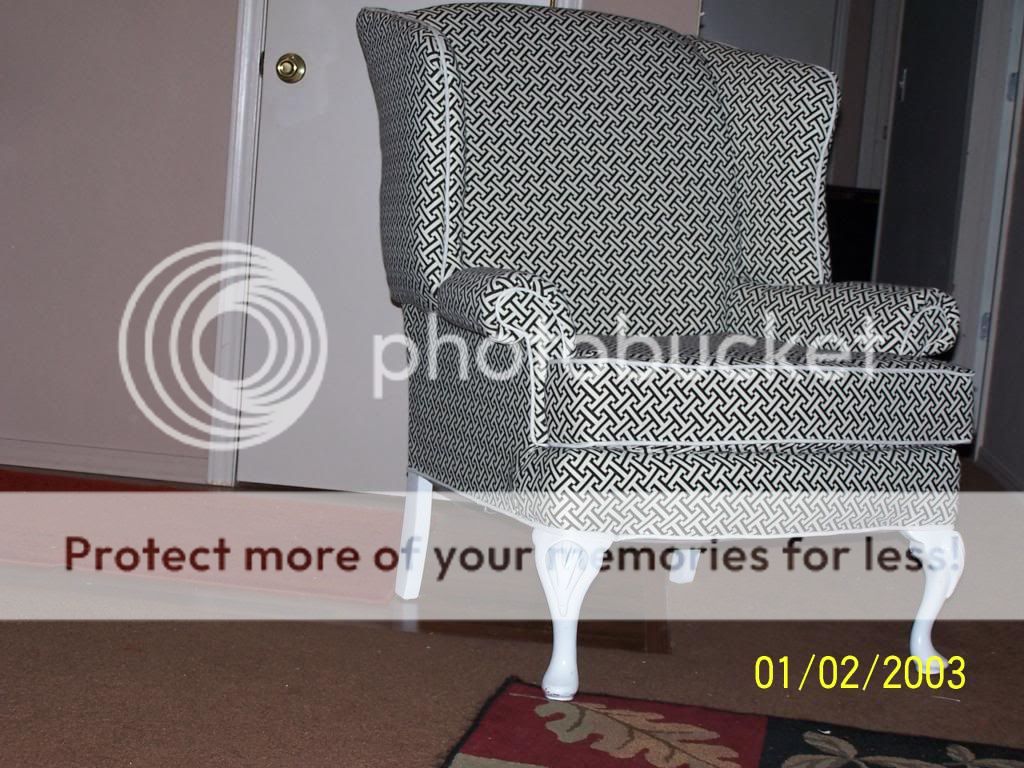
I just do this for fun!!!  I Think!!!  I started out cuz I was to cheap to pay to have my boat seats done so I did em myself with an old Morse Machine.  I've since upgraded to a Rex Walking foot.  Done some other work etc and Now my daughter talked me into re doing a Wing Back Chair.   Bought the Chair at a Thrift Store for $10 bucks.  Paid $20 bucks for the material on Clearance.  Took about 10 hours to do the work with her helping me.  We neither one knew what we were doing!!!!  Found some videos on YouTube and then started tearing it apart.   She did not want the Pillow back style so we re-did it into a single padded back.  I used an electric carving knife to shape the foam.  Used foam from an Old "Donor Couch" we got free from Craigslist" for the back cushion. I Guess it turned out OK.  Let me know what you think.  I'm thinking about when I retire in a couple of years of doing some upholstery work as a side line but I'm not sure if I'm good enough.  My wife says maybe, my daughter and son say yes.  I just don't know.


11
General Discussion / Full Cover Runabout Cover
June 30, 2014, 12:53:26 pm
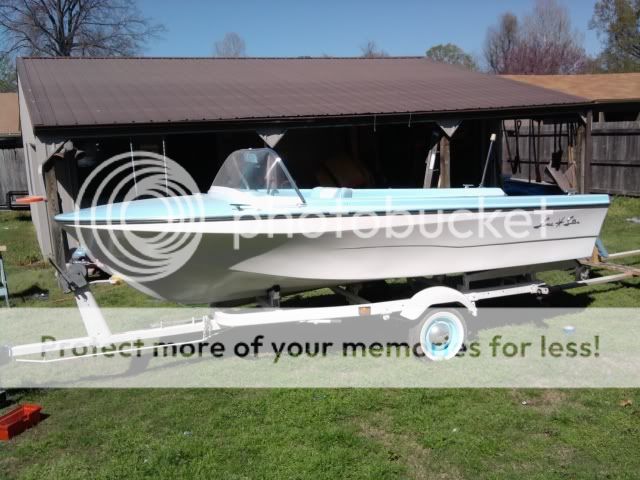
I restored this 1961 LoneStar and I want to try and keep her looking good.  She's Old but she's paid for and she's mine!!!


I want to try and keep her looking good so I want to try and sew a Cover for her. The seats are all removable so there won't be any "Bumps" to worry about for the cover except for the Bow Accessories,  Gunwale cleats and the Stern light.  I'm a Wanna-Be Upholsterer with an old REX 11-155R Walking foot. I cut my teeth doing the upholstery on my boat and it turned out pretty good.  I made the rear bench seat from scratch and that's the only "Free Hand Patterning" I've ever done.


 Never done any thing this big before.   How would you go about making a pattern for for a Full cover for this boat?  She's 15ft by 5 1/2Ft at the Beam.  I think I can handle the bump outs for the Horn, cleats and light but welcome tips for those as well.  Instead of a draw string I'm thinking of grommets for bungee tie downs to the trailer.  Is there a better way?  Is a draw string better?  I'm not Totally stupid, but specific details would make me a happy camper...  What recommended materials to use etc.  I'm a C.O.B. so don't want to "Break the Bank" on this project.  I'm guessing about 8yds of fabric to do the job.  Also thinking of possibly gluing Fleece to the back side of the fabric (sunbrella or something similar) to hold down on the abrasion.  Is this a good idea or would the glue not hold up.  I use 3M High Strength 90 Spray Adhesive and it seems to stick really well.  Also what have you guys used to help with waterproofing boat covers???

Your thoughts and recommendations are readily accepted??

12
The "GREEN" Room! / Latest Boat Seats
June 07, 2014, 12:19:27 pm
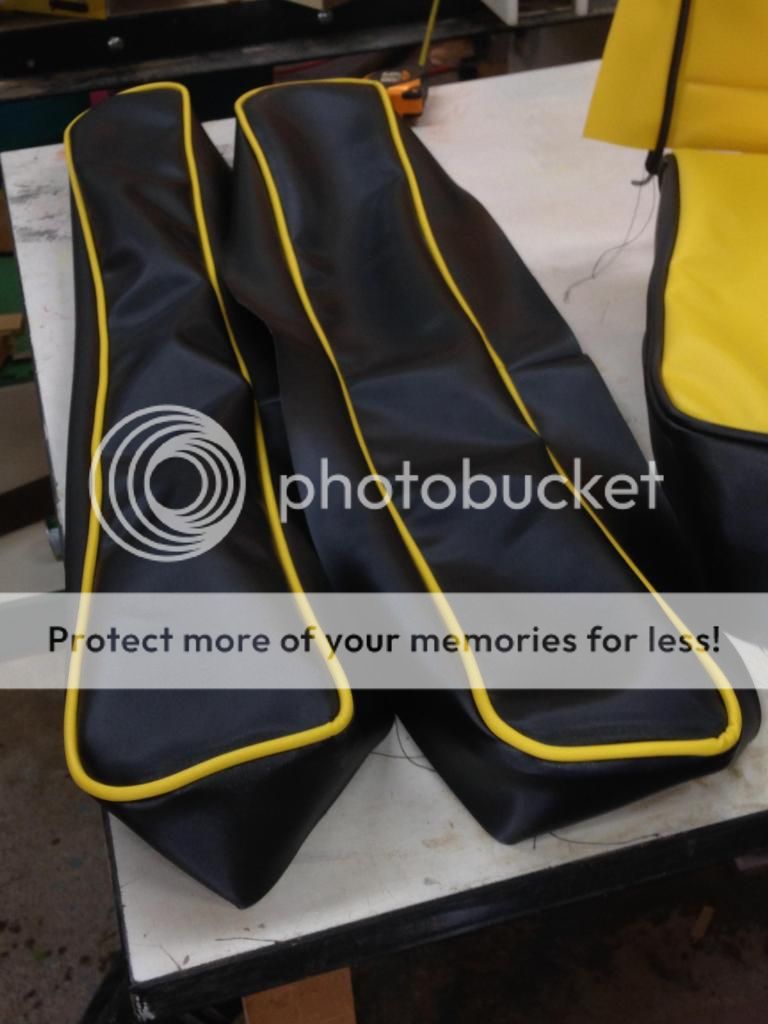
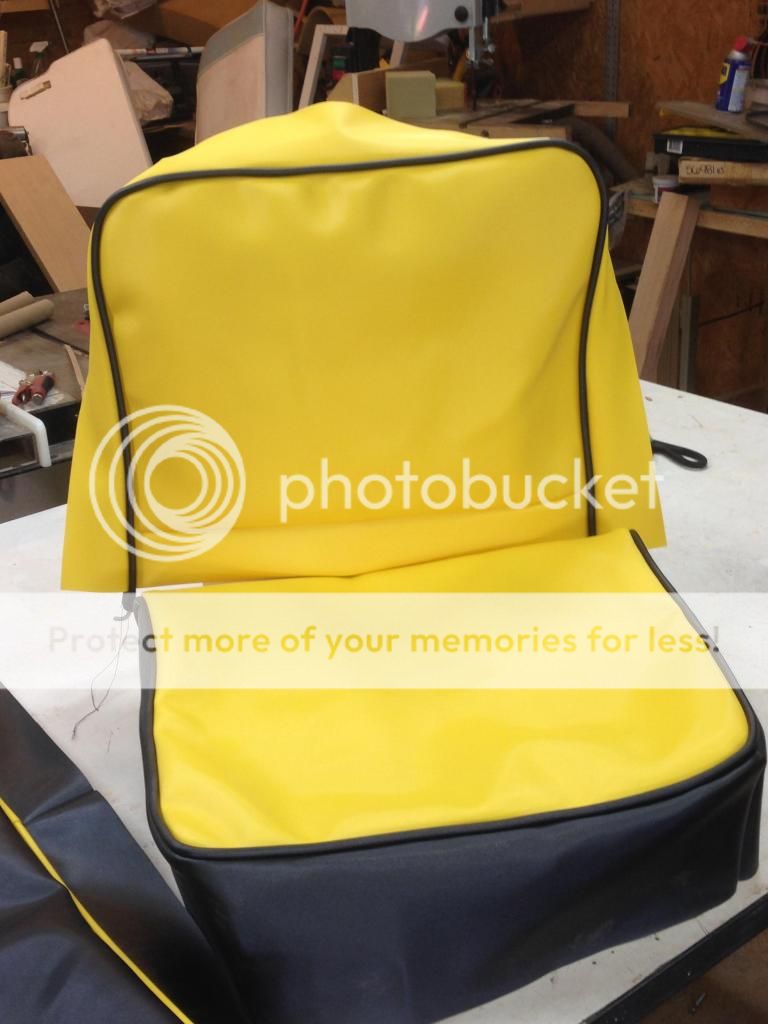
Friend of mine in Ohio Fed Ex'd me his old seat covers and I used them to pattern some new ones.  His boat's gunna look like a Bumble Bee!!!


13
The "GREEN" Room! / My Sons VW BUS
June 04, 2014, 11:59:55 am
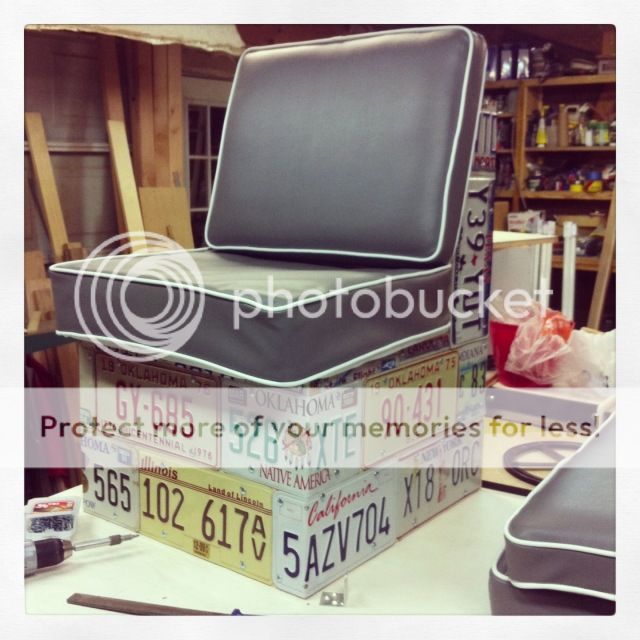
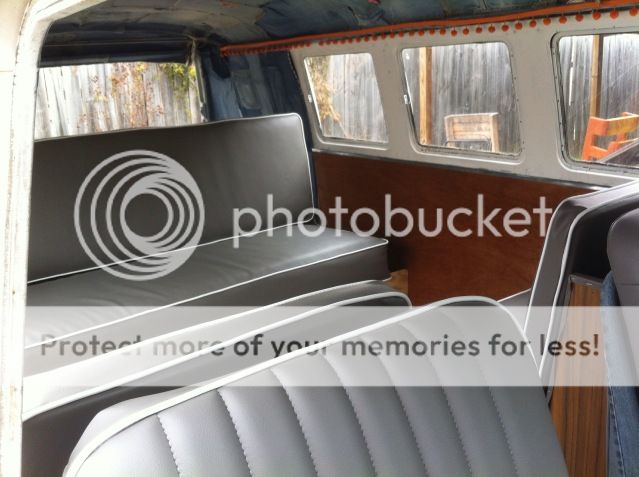
2 years ago I restored a 1961 Lonestar Boat.  Being a COB I decided to teach myself to do Upholstery and save the quoted $1,800 costs.  I did a decent job, far from perfect, learned a lot using an Old Morse Home Machine so my son asked me to attempt to upholster his VW Bus.  


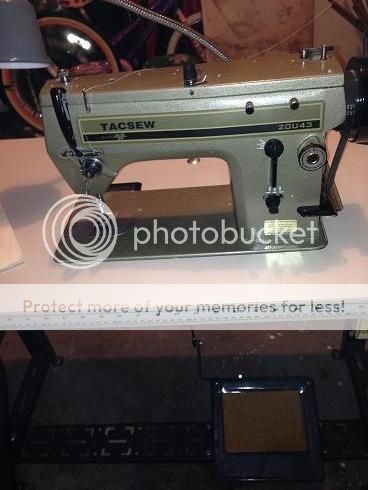
Again,  Being a COB, we used Donor Couch Foam from Craigslist for the cushions but over all I think it all came out pretty good.  What do you all think.  I bought  a Tacsew 20U Zig Zag that I  restored for $200.